Follow Me On Social Media!

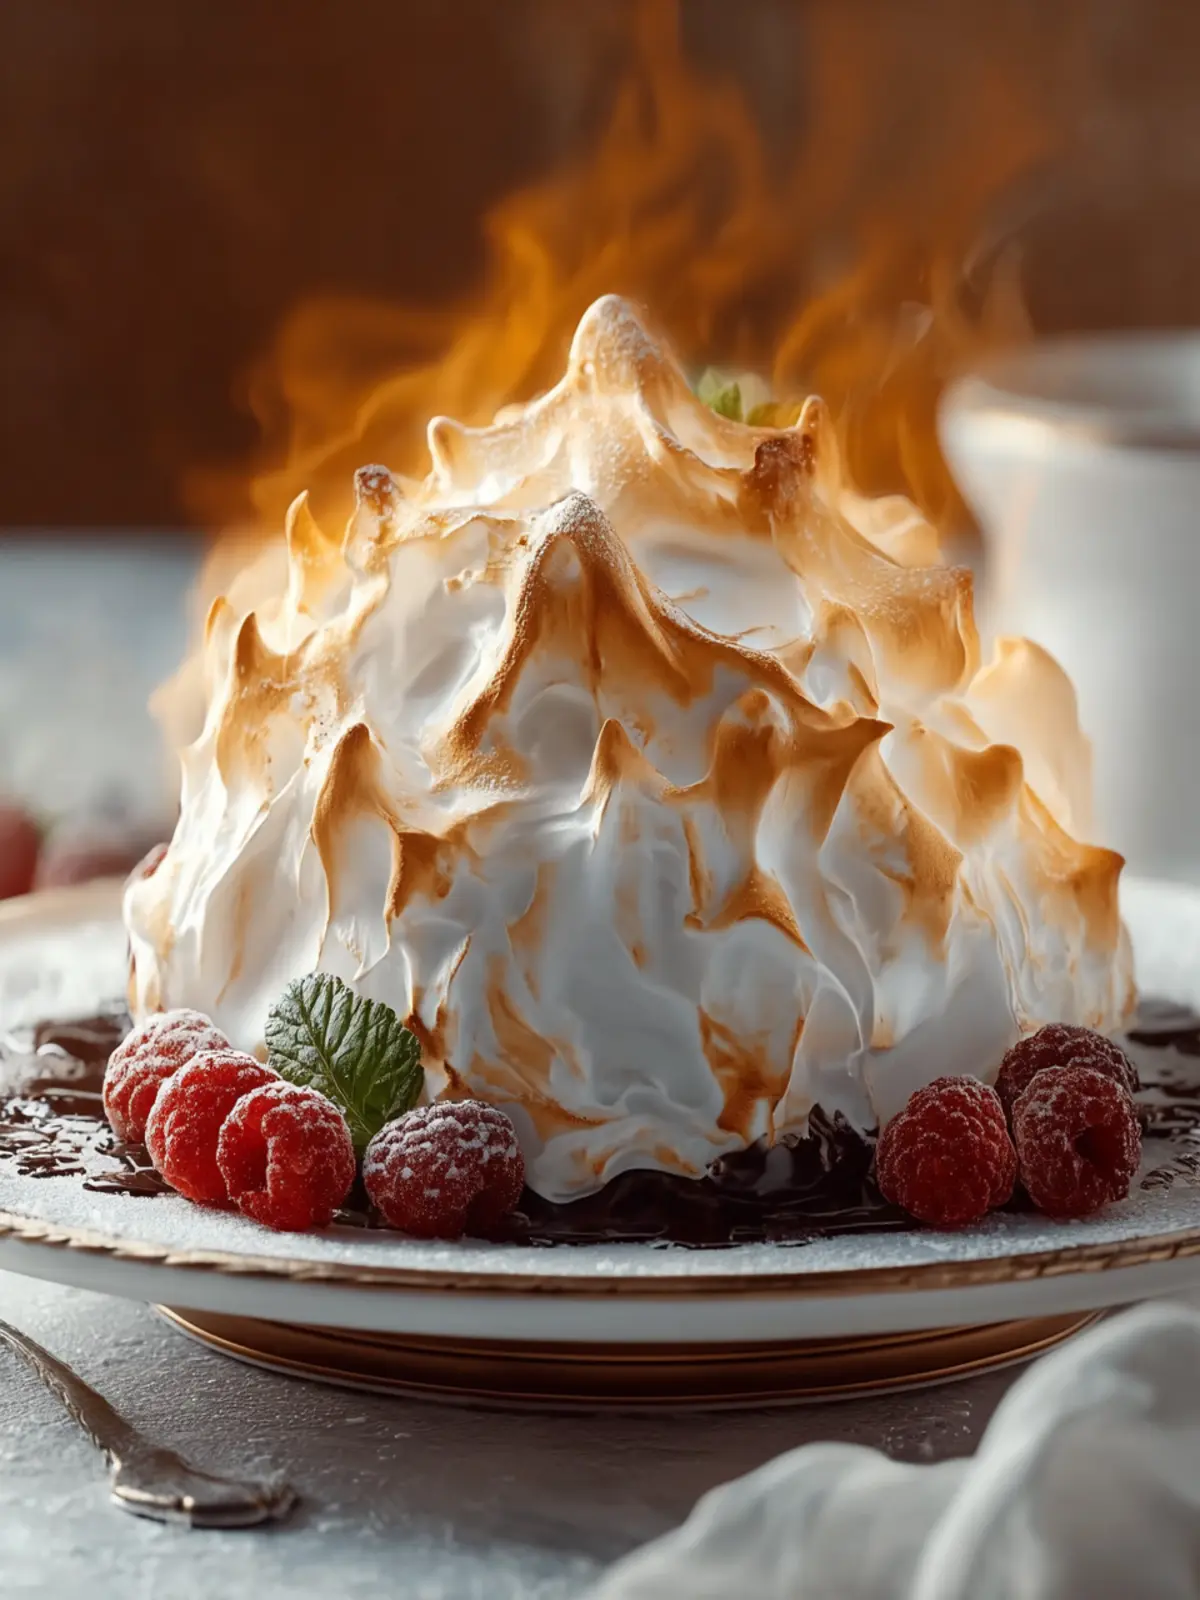
Baked Alaska: Create an Irresistible Meringue Delight at Home
Introduction to Baked Alaska: Create an Irresistible Meringue Masterpiece
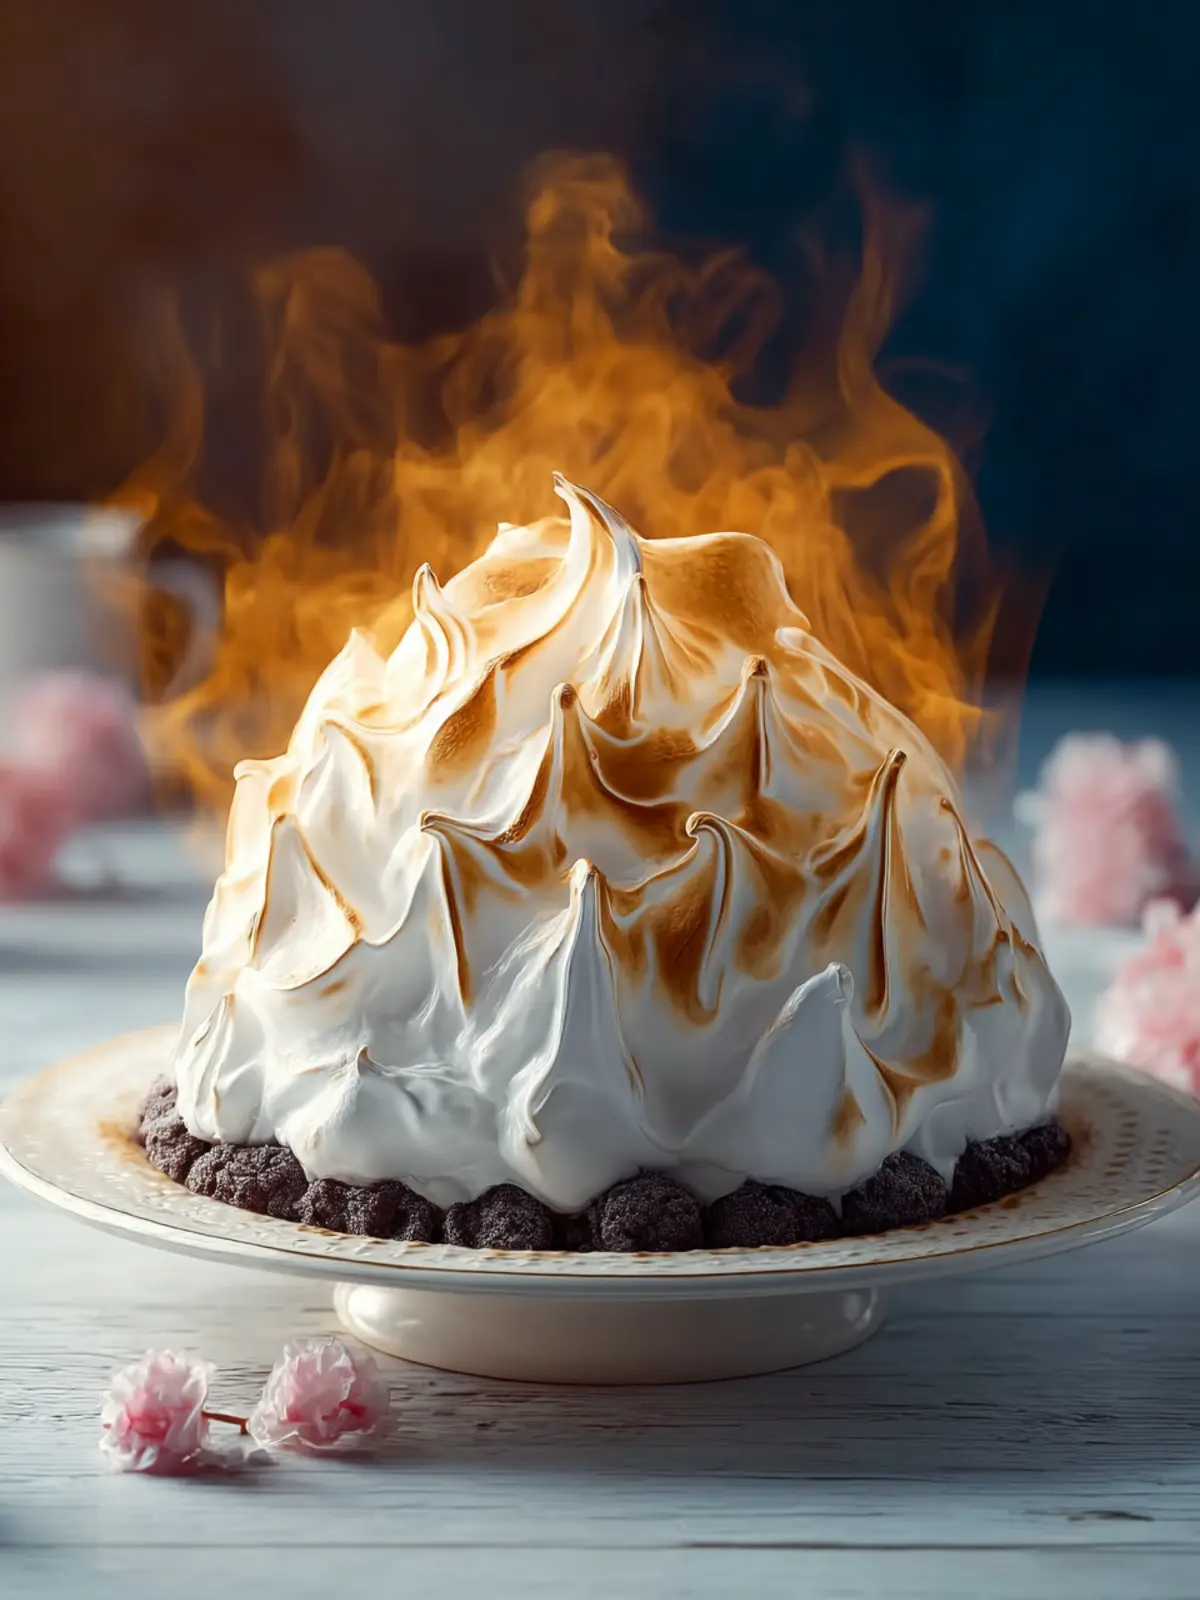
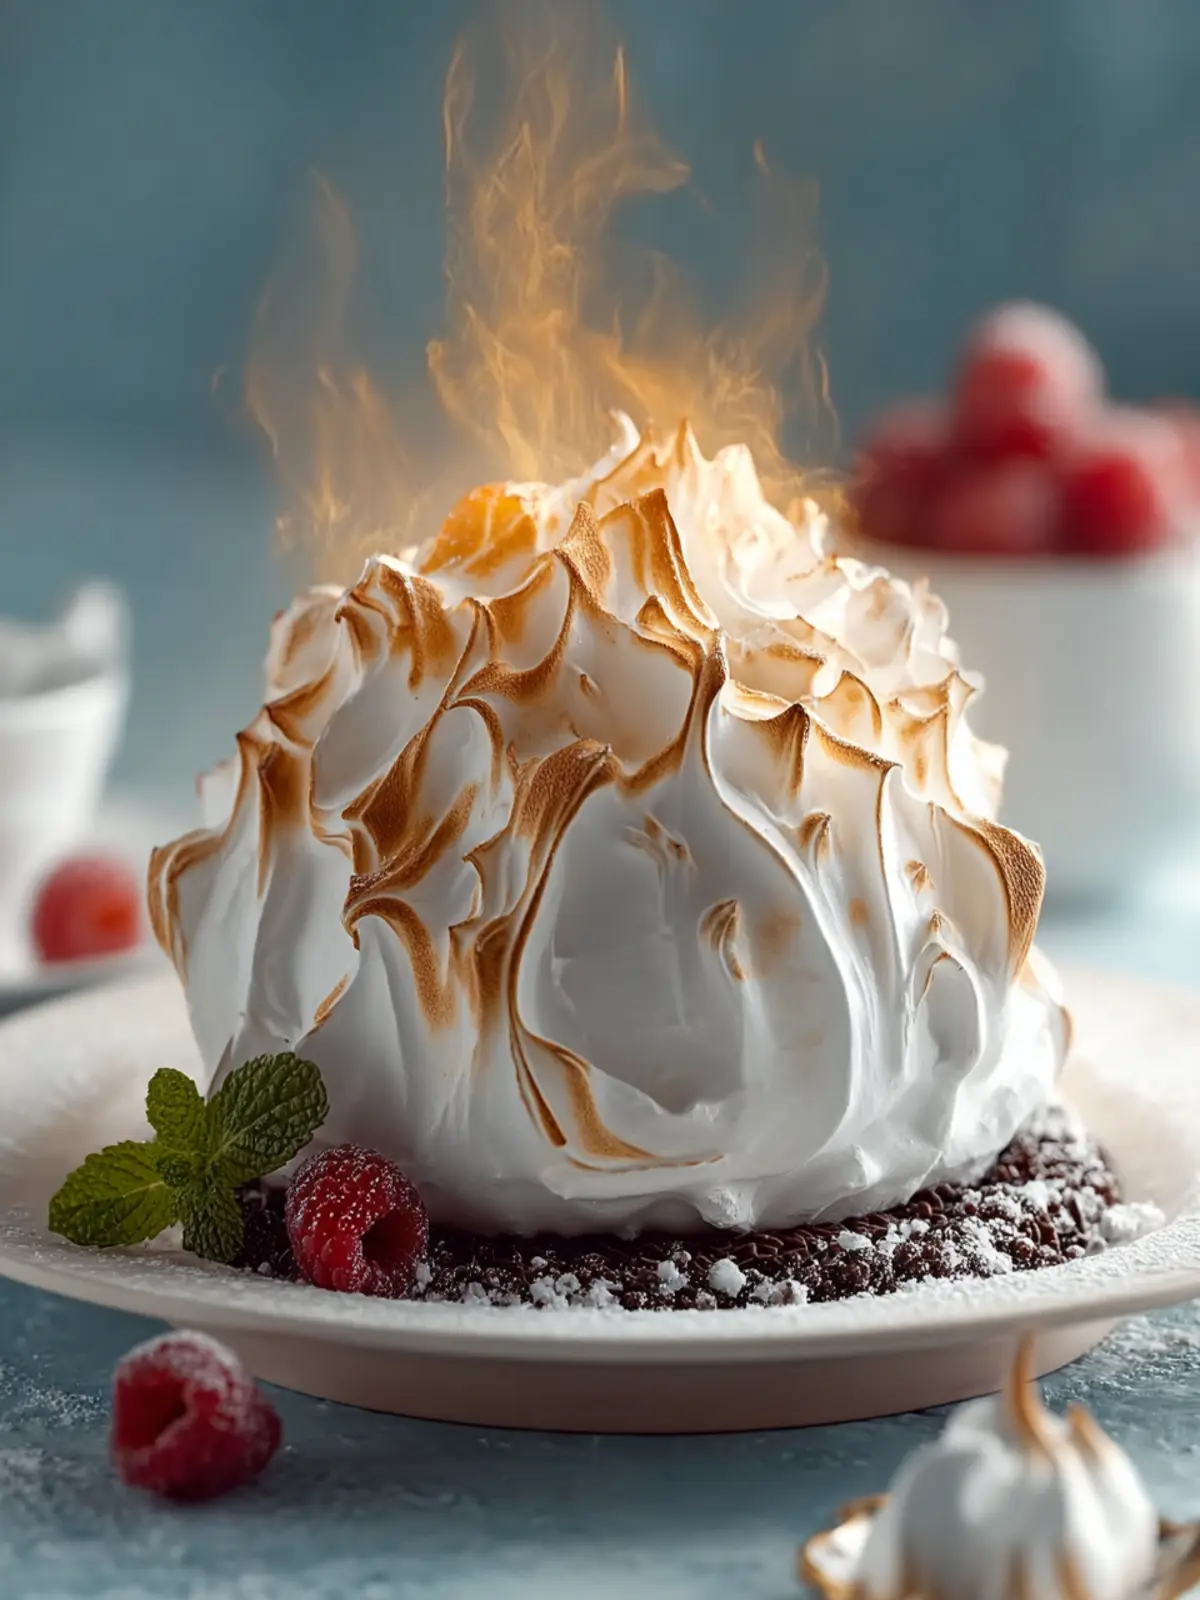
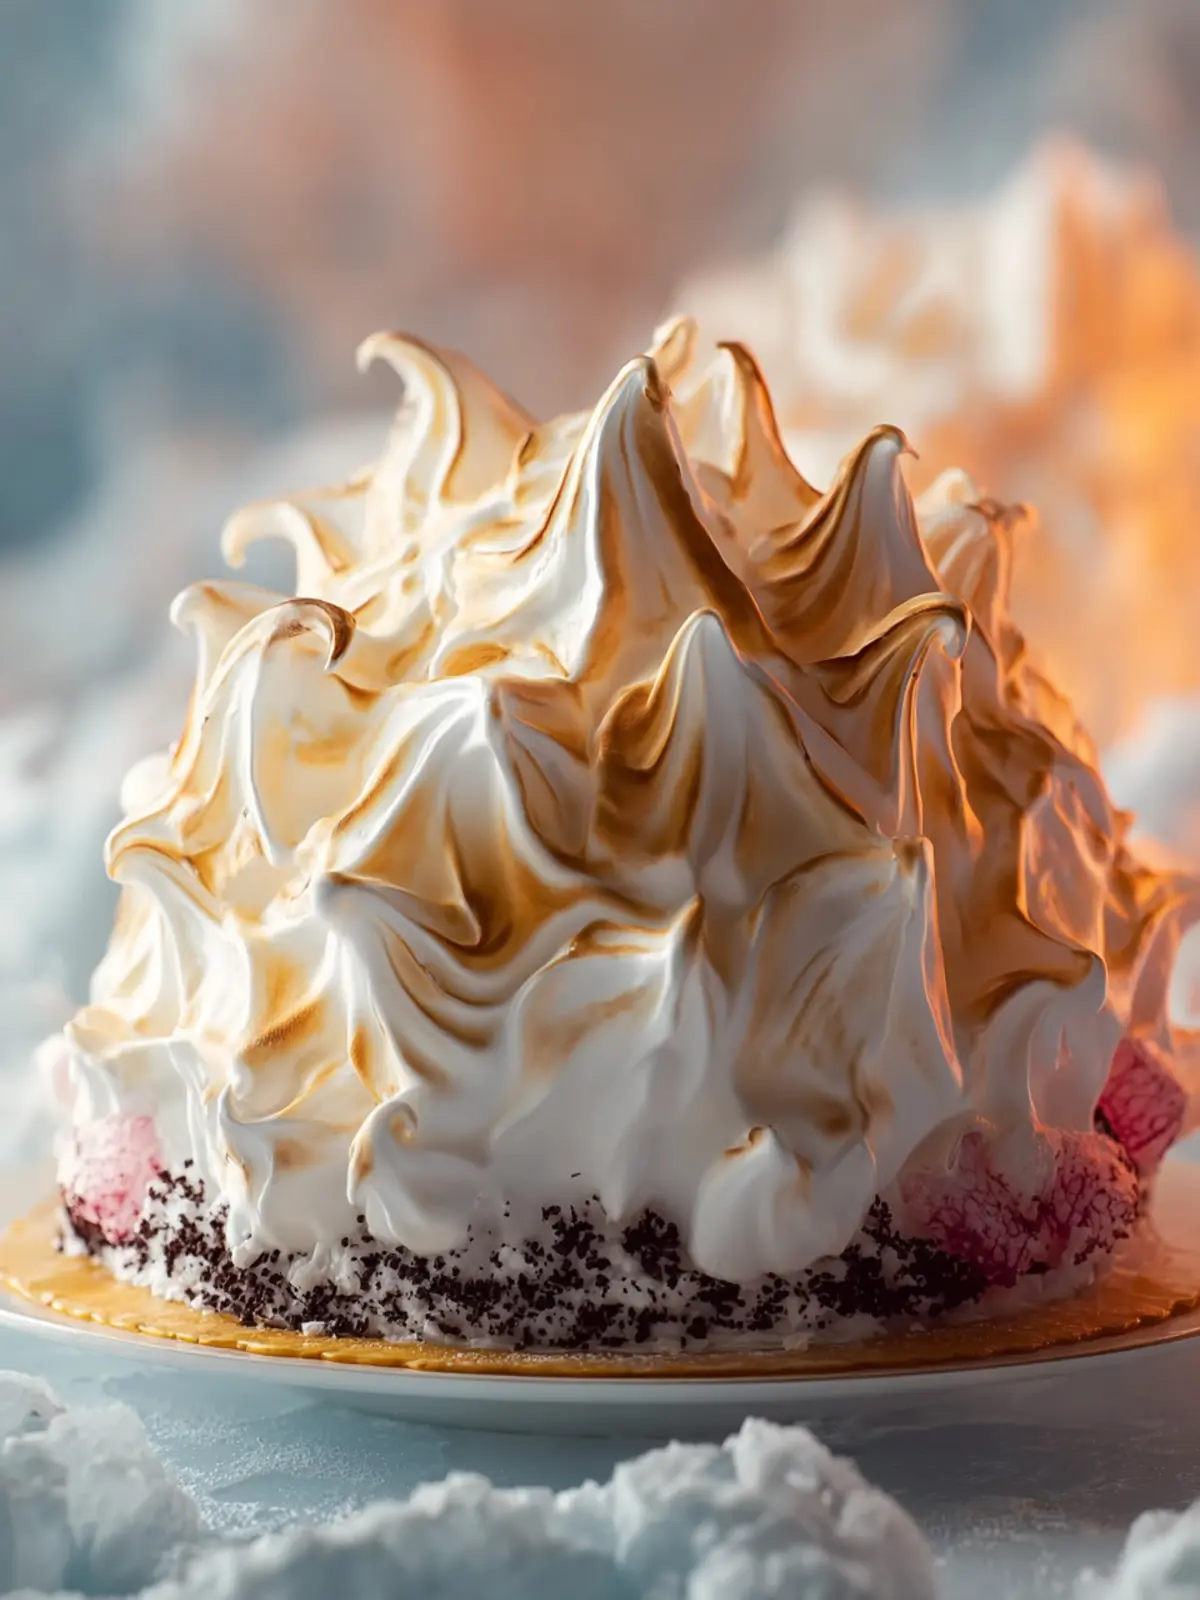
Imagine a dessert that combines the elegance of ice cream, the warmth of sponge cake, and a dramatic finish of toasted meringue—this is the magic of Baked Alaska. Originating in the 19th century, this delectable treat has captured hearts worldwide with its unique layers and striking presentation. It’s not just a dessert; it’s an experience that invites both awe and delight at any occasion, be it a festive gathering or a simple dinner party.
Making Baked Alaska is like creating your own edible masterpiece. The soft sponge cake serves as a warm foundation, encasing a generous scoop of your favorite ice cream, while the fluffy meringue topping provides an airy contrast. What truly sets this dessert apart is the dramatic baking process, where the meringue turns golden brown under high heat, sealing in the cold ice cream below. There’s something undeniably impressive about slicing into this dessert and discovering its beautiful layers.
Why Baked Alaska is the Ultimate Dessert Experience?
-
Visual Appeal: The stunning contrast of the golden meringue against the vibrant ice cream makes for a show-stopping centerpiece.
-
Textural Variety: With the soft sponge, creamy ice cream, and toasted meringue, each bite provides a delightful combination of textures.
-
Customizable Flavors: Want to personalize your dessert? You can experiment with different cake flavors (think chocolate or vanilla) and even ice cream varieties (from classic vanilla to exotic mango).
Creating this splendid confection at home might seem daunting, but I assure you, the result is well worth the effort. Invite friends over, pour a celebratory drink, and impress them with this elegant dessert you crafted from scratch. You’ll be amazed at how a little time and creativity can turn a simple evening into a memorable occasion.
Are you ready to dive into the delightful world of Baked Alaska? Let’s gather our ingredients and get started!
Key Ingredients for Baked Alaska
Creating a stunning Baked Alaska requires a thoughtful selection of ingredients that work in harmony to produce a delightful experience for your taste buds.
-
Eggs: Fresh eggs are essential for achieving a fluffy sponge base and a rich meringue. I always reach for room-temperature eggs since they whip to greater volume and provide a delightful texture.
-
Granulated Sugar: This sweetens both the sponge and the meringue. I recommend using fine sugar in the meringue as it helps create those gorgeous glossy peaks we all desire.
-
Flour: All-purpose flour is a must for ensuring a light, airy sponge cake. Don’t forget to sift the flour; it significantly improves the overall texture.
-
Vanilla Ice Cream: Opt for high-quality vanilla ice cream, as it really elevates the flavor profile of this dessert. Feel free to mix things up and experiment with different flavors that you enjoy!
-
Egg Whites: As with whole eggs, fresh, room-temperature egg whites are crucial for a stable and voluminous meringue. They’ll ensure that beautiful dome holds its shape.
-
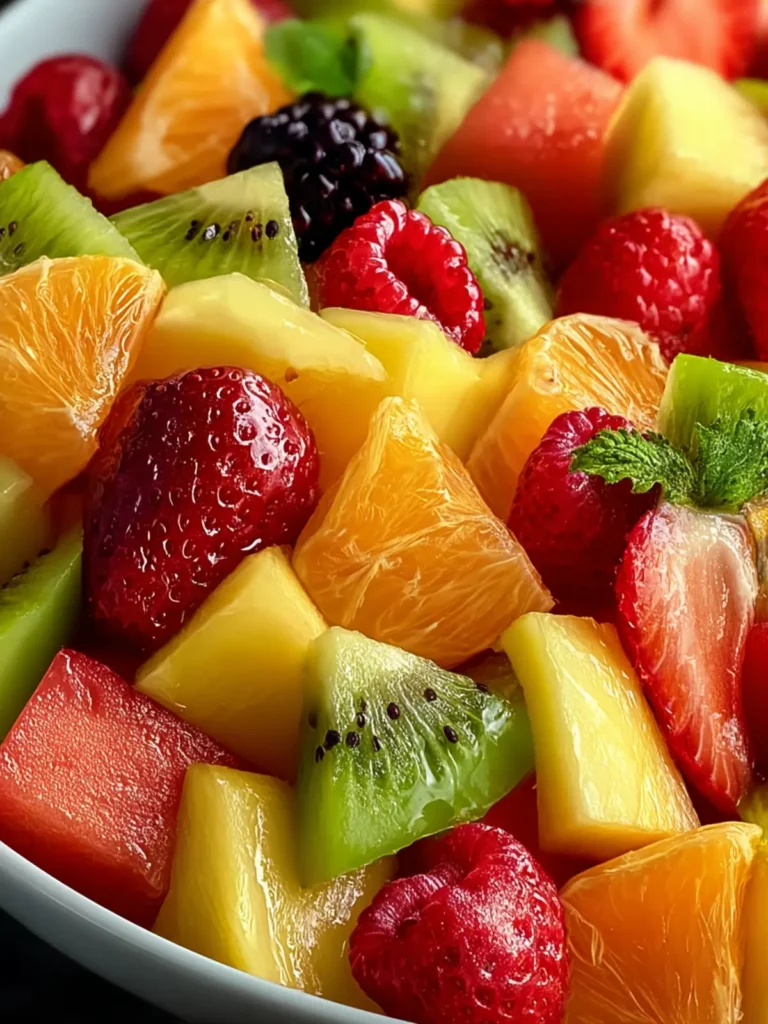
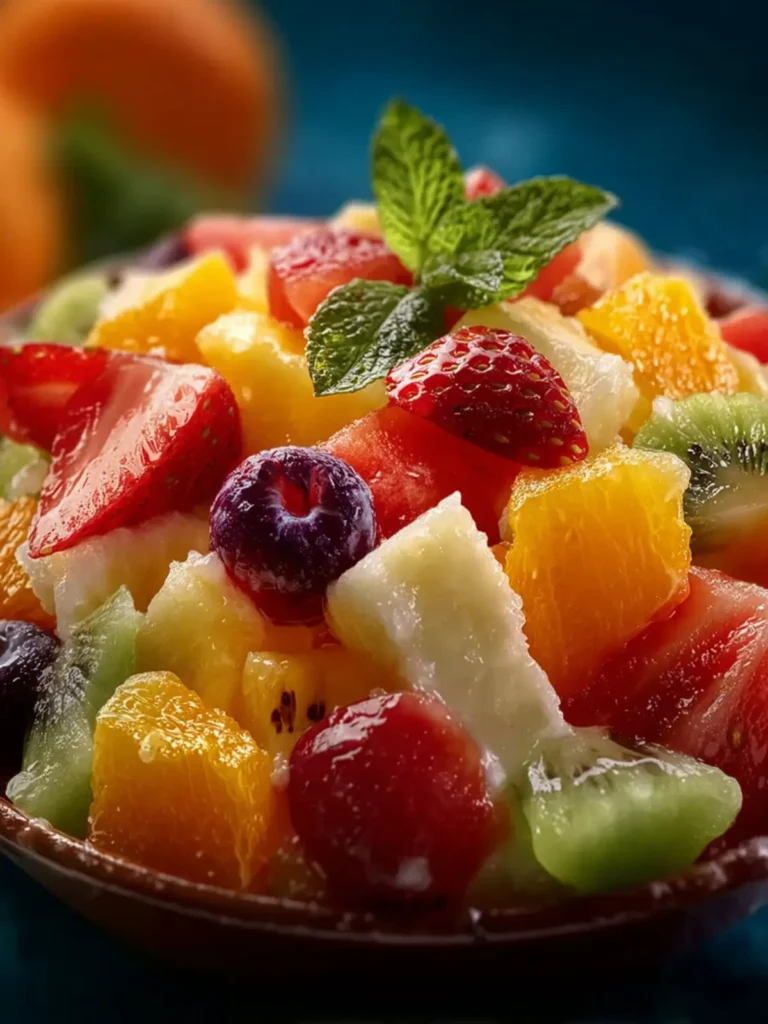
Decorative Garnishes: Fresh berries or a drizzle of fruit coulis can really add a pop of color and additional flavor to your Baked Alaska, making it even more appealing.
With these key ingredients, you’re well on your way to crafting a glorious Baked Alaska that’ll impress your guests and satisfy your sweet tooth!
Why You’ll Love This Baked Alaska
Imagine a dessert that encapsulates both artistry and indulgence in a single slice—this is what Baked Alaska offers. One towering wonder combining a layer of rich cake, creamy ice cream, and fluffy meringue, it’s a show-stopper that’s bound to wow your friends and family.
A Unique Experience
This dish isn’t just about flavors; it’s about an experience. Picture yourself carefully balancing the components, and then, with that first slice, revealing an ooey-gooey center of ice cream. Each bite melds the warmth of the toasted meringue with the chilled creaminess that melts in your mouth.
Perfect for any Occasion
Whether it’s a birthday celebration, a holiday feast, or a casual dinner party, Baked Alaska is versatile enough to impress in any setting. It gives off an air of elegance without the fussiness, letting you be the star of the evening without spending all day in the kitchen.
Customizable to Personal Preferences
You can adjust the cake base, choose your favorite ice cream flavor, and get creative with toppings. This means your Baked Alaska can be as unique as you and your guests, ensuring that everyone leaves with satisfied smiles.
Indulging in this dessert is a little like having your cake and eating ice cream too. Its charm lies in the balance—light meringue, decadent ice cream, and a spongy cake layer come together to create unforgettable moments with every bite.
Variations on Baked Alaska
Baked Alaska stands out not only for its dramatic presentation but also for its adaptability. As you embark on your meringue masterpiece journey, consider exploring these variations that can elevate your creation.
Flavor Swap Ideas
Let’s talk flavors. The beauty of Baked Alaska lies in its versatility. Instead of the classic vanilla cake base, try using chocolate or even a zesty lemon sponge. For the ice cream, mix it up with flavors like rich espresso, refreshing mint, or fruity mango. If you’re feeling adventurous, combining two flavors, such as chocolate and raspberry, offers a delightful juxtaposition.
- Ice Cream Options: Explore coffee, pistachio, or a funfetti ice cream to surprise your guests.
- Cake Base Substitutes: A nutty almond cake or a spice-infused gingerbread can add warmth and character.
Dietary Adjustments
Don’t let dietary needs limit your baking creativity. For gluten-free enthusiasts, substitute regular flour with a 1:1 gluten-free blend. Vegan variations can also shine through by using aquafaba in place of egg whites for your meringue and opting for dairy-free ice creams.
- Sweetener Alternatives: To make it lower sugar, consider options like coconut sugar or maple syrup in the cake.
With these variations, your Baked Alaska can cater to any palate, making it a dessert that everyone can enjoy!
Cooking Tips and Notes for Baked Alaska
Creating an exquisite Baked Alaska is an art that begins long before the meringue meets the ice cream. Trust me; the journey from the first mixing bowl to your table is as thrilling as the final reveal. Here are some essential tips that will enhance your baking experience and ensure a stunning outcome.
Mastering the Meringue
Achieving a light and fluffy meringue is key to a perfect Baked Alaska.
- Egg Whites: Use room temperature egg whites for maximum fluffiness. This allows them to whip more easily and hold air better.
- Bowl Cleanliness: Ensure your mixing bowl is completely grease-free. Any fat can prevent the egg whites from whipping properly.
- Stability: For a sturdier meringue, consider adding a teaspoon of cornstarch or a bit of vinegar while whipping. This helps stabilize the mixture and enhances that beautiful glossy finish.
Baking Techniques
Your Baked Alaska is only as good as the techniques you employ.
- Freezing the Layers: Make sure to freeze each layer of ice cream for a couple of hours before assembling. This ensures they hold their shape when covered with meringue.
- Quick Baking: When you bake the meringue, do it quickly at a high temperature. This creates a beautifully browned exterior while keeping the ice cream inside perfectly frozen.
With these tips in mind, you’ll be ready to create a Baked Alaska that’s not just delicious, but also truly a showstopper. Baking should be fun and rewarding—enjoy the process!
Serving Suggestions for Baked Alaska
Baked Alaska is a true showstopper that deserves a little extra thought when it comes to serving. This delightful dessert, with its combination of cake, ice cream, and toasted meringue, can elevate any gathering.
Presentation Tips
To bring your Baked Alaska to life, consider plating it on a serving platter surrounded by seasonal berries or a drizzle of chocolate or raspberry sauce. Dusting the entire creation with powdered sugar right before serving adds an elegant touch, making it look as good as it tastes. For an extra wow factor, use a kitchen torch to caramelize the meringue just before serving, allowing your guests to enjoy the mesmerizing transformation of the dessert.
Ideal Pairings
For drinks that complement your Baked Alaska, try a light dessert wine such as Moscato or a refreshing sparkling rosé. If you’re in the mood for coffee, a rich espresso balances the sweetness of the dessert beautifully. Don’t forget to offer a scoop of the same ice cream flavor used in the Baked Alaska alongside for an added treat!
Creating an unforgettable experience around this iconic dessert doesn’t stop with the recipe—you’ll find that how you choose to present and pair it can elevate the occasion even further!
Time Breakdown for Baked Alaska
When crafting your Baked Alaska, understanding the timing is crucial for achieving that perfect balance of flavors and textures. This iconic dessert requires careful attention, but the result is undeniably rewarding.
Preparation Time
The prep for your Baked Alaska will take about 30 minutes. This includes making the cake base, preparing the ice cream, and whipping up the meringue. Ensuring you have all your ingredients out and ready can streamline this step.
Cooking Time
While the cooking itself is minimal, baking the cake will take around 25 minutes. The real magic happens when you torch the meringue just before serving, which only takes a few minutes but is essential for that golden finish.
Total Time
Overall, expect a total time of about 1 hour for this exquisite dessert. With a little patience and practice, your Baked Alaska will become a show-stopping masterpiece that impresses every time.
Nutritional Facts for Baked Alaska
When whipping up an indulgent Baked Alaska, it’s not just about the delightful combination of cake, ice cream, and meringue; understanding its nutritional profile can help you enjoy it guilt-free.
Calories
A typical serving of Baked Alaska contains approximately 300 calories. This includes the rich flavors from the cake and creamy ice cream, making each bite worth savoring.
Protein
Expect around 5 grams of protein per serving. The protein mainly comes from the eggs used in the meringue and the cake, contributing to this dessert’s satisfying texture.
Sugar Content
Your slice of Baked Alaska will have about 30 grams of sugar. While sweet, this is a treat best enjoyed in moderation, allowing the flavors to really shine without overwhelming your palate.
FAQs about Baked Alaska
Baked Alaska is not just a dessert; it’s a theatrical experience that combines cake, ice cream, and meringue into a stunning masterpiece. But with this intricate dish comes a few common questions that aspiring bakers often have. Let’s dive into your burning questions about this delicious creation!
Can I make Baked Alaska ahead of time?
Absolutely! One of the great things about Baked Alaska is its ability to be prepped in advance. You can assemble the cake and ice cream layers a day ahead of serving. Just ensure that you cover it properly with plastic wrap to prevent freezer burn. When you’re ready to serve, simply top it with meringue and bake briefly before presentation. Remember, the shorter time in the oven keeps your ice cream intact!
How do I store leftovers?
If you find yourself with leftover Baked Alaska, it’s best to wrap individual slices in plastic wrap and store them in the freezer. This helps seal in the freshness and maintain the texture of both the cake and the ice cream. Just be mindful not to leave it in the freezer for too long to prevent freezer burn.
What if the meringue doesn’t hold its shape?
If your meringue isn’t holding its shape, it might be due to a couple of factors. Ensure that your mixing bowl and beaters are completely clean—any grease can hinder the stability of the egg whites. Also, make sure to beat your meringue until stiff peaks form, which provides that luscious, cloud-like texture. A pinch of cream of tartar can help stabilize it as well. If it still fails, don’t stress too much; even imperfect meringue will taste amazing!
Armed with these FAQs, you’re now better prepared to tackle your Baked Alaska adventure with confidence!
Conclusion on Baked Alaska
Baked Alaska is truly a show-stopping dessert that combines flavors and textures in a way that delights the senses. Once you master the process of constructing this masterpiece with rich ice cream, fluffy meringue, and a delicious cake base, you’ll want to share it with friends and family. The art of Baked Alaska might seem a bit daunting at first, but the rewarding experience is well worth it. Whether it’s for a special occasion or just a weekend treat, this dessert is sure to impress and create lasting memories. Get ready to dive into the delightful world of meringue confectionery!
Print
Vanilla Ice Cream Meringue Dessert
- Total Time: 4 hours 35 minutes
- Yield: 6 servings 1x
- Diet: Vegetarian
Description
A delightful meringue dessert with layers of sponge and vanilla ice cream.
Ingredients
Scale
- 2 medium Eggs (at room temperature)
- 60 g Granulated Sugar (can use alternatives like coconut sugar)
- 60 g Plain Flour (sifted)
- 1 pinch Salt
- 500 ml Good-quality Vanilla Ice Cream (or any flavor of choice)
- 3 large Egg Whites (room temperature)
- 150 g Granulated Sugar (use fine sugar for optimal results)
- Decorative Garnishes (e.g., fresh berries, fruit coulis, cocoa powder, or citrus zest)
Instructions
- Preheat your oven to 175°C (350°F). Beat the eggs and sugar together until pale and fluffy. Fold in sifted flour and salt. Pour into a greased cake tin and bake for 12-15 minutes until golden brown. Cool and cut into a circle.
- Line a bowl with plastic wrap and press softened ice cream into it, smoothing the top. Freeze for at least 4 hours until firm. Invert it onto the sponge base and freeze again until set.
- Combine egg whites and sugar in a bowl over low heat, stirring until sugar dissolves. Beat until glossy peaks form.
- Cover the ice cream and sponge with meringue, sealing the edges. Freeze for 1 hour.
- Preheat your oven to 220°C (425°F). Bake the dessert for 3-5 minutes until golden brown, or use a kitchen torch.
- Let the dessert sit for 3 minutes before slicing with a hot knife. Serve immediately on chilled plates with garnishes.
Notes
- Ensure the eggs are at room temperature for better volume when beaten.
- You can experiment with different flavors of ice cream as per your preference.
- Prep Time: 20 minutes
- Cook Time: 15 minutes
- Category: Dessert
- Method: Baking
- Cuisine: American
Nutrition
- Serving Size: 1 slice
- Calories: 300
- Sugar: 40 g
- Sodium: 150 mg
- Fat: 10 g
- Saturated Fat: 6 g
- Unsaturated Fat: 3 g
- Trans Fat: 0 g
- Carbohydrates: 45 g
- Fiber: 1 g
- Protein: 6 g
- Cholesterol: 150 mg