Follow Me On Social Media!

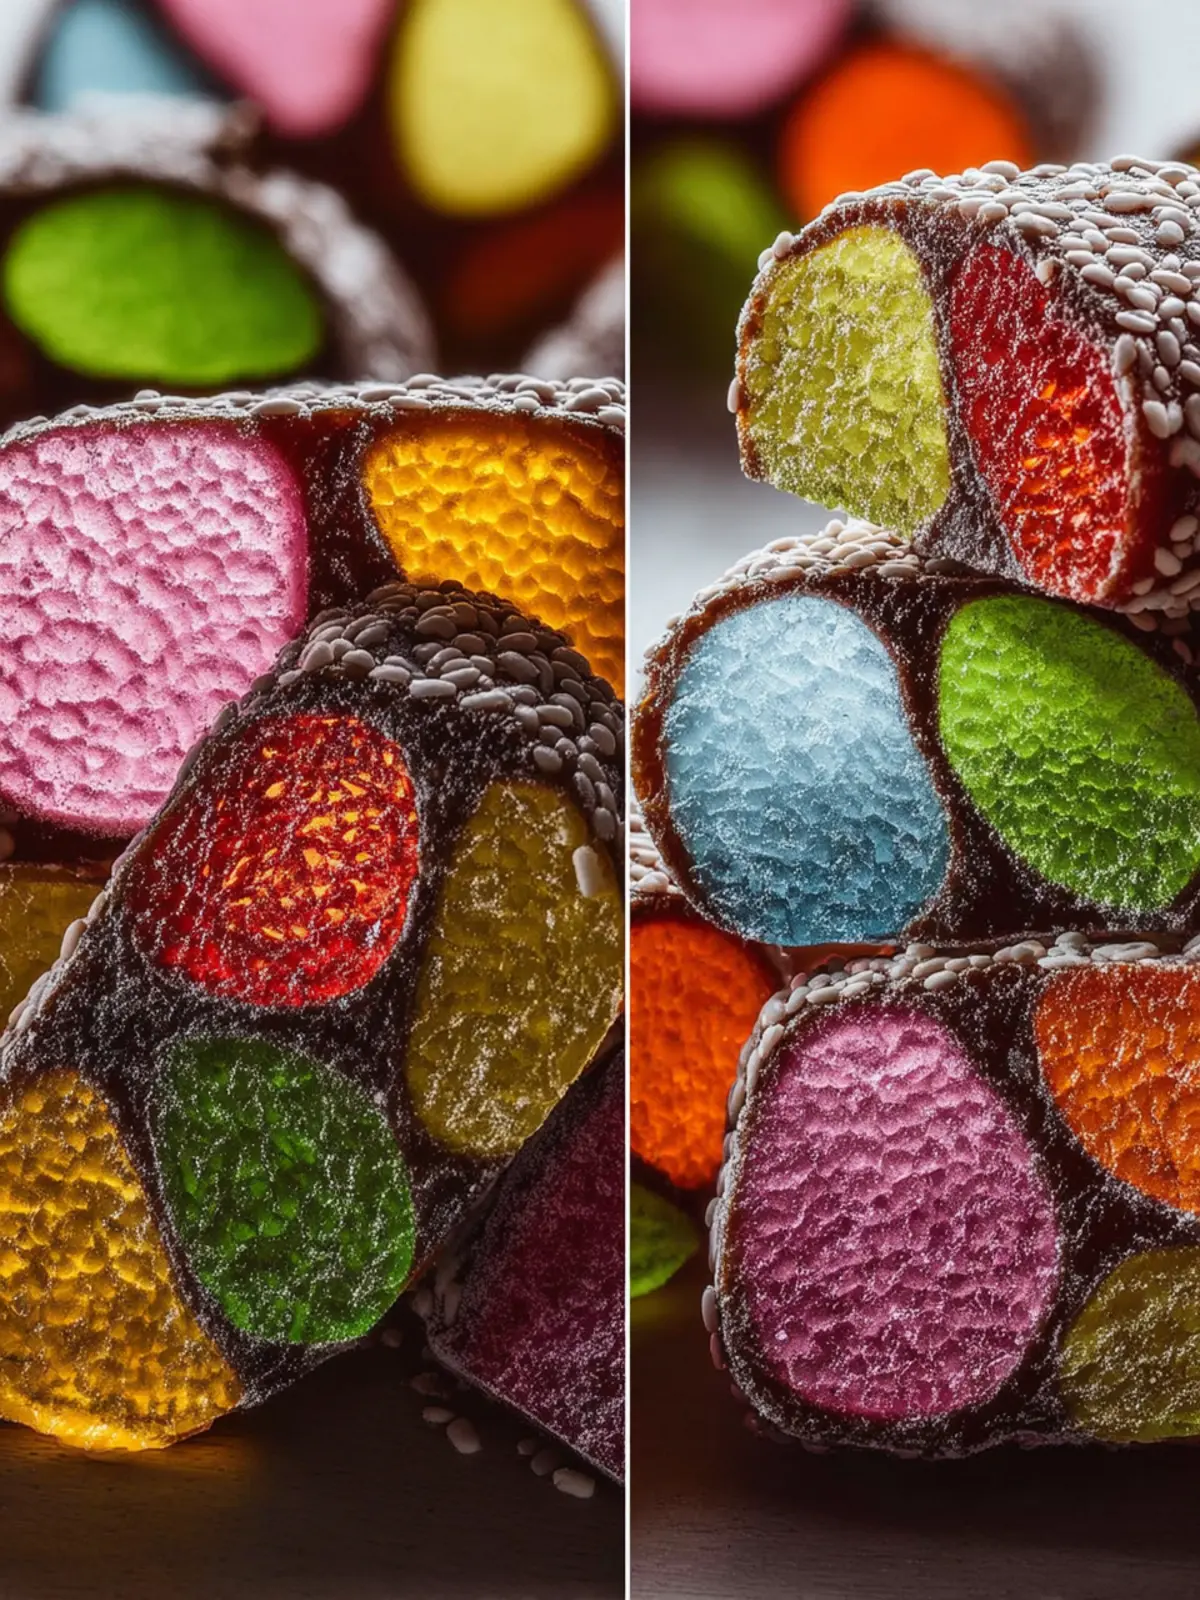
Easy Stained Glass Candy Recipe: Irresistibly Colorful Treats
Introduction to Easy Stained Glass Candy Recipe: Colorful Homemade Treats
Every time I prepare this easy stained glass candy recipe, I’m transported back to my childhood, where the holidays were adorned with shimmering, colorful treats that seemed to dance beneath the lights of our family tree. My grandmother had a magical way of turning simple ingredients into works of art, and her stained glass candy was the sparkling centerpiece of our celebrations. The vibrant colors and crisp textures made it irresistible, and it always sparked delight among family and friends.
Stained glass candy is not just a confection; it’s a delightful piece of nostalgia that combines the art of cooking with creativity. If you’re looking to re-create those special moments, this recipe is perfect for making a memorable experience that you can share with loved ones. The joy of crafting each piece of candy brings a sense of accomplishment while giving you a chance to express your artistic side, turning a kitchen moment into a cherished memory.
With only a handful of ingredients, you can whip up a batch that rivals those found in fancy candy shops. The crunchy candy starts with sugar and corn syrup, which are combined to create a beautiful base that hardens to a glass-like finish. Choosing your favorite food colorings allows you to customize each piece to fit the occasion—be it vibrant reds and greens for Christmas or pastel shades for an Easter celebration.
So roll up your sleeves and get ready to create an array of crispy, sugary masterpieces, perfect for gifting or satisfying your own sweet tooth. This easy stained glass candy recipe is simple enough for anyone to tackle—which is part of the fun! Let’s unlock that childhood magic in your kitchen and create these colorful homemade treats together.
A Sweet Childhood Memory that Inspires Today’s Creation
Reflecting back on my grandmother’s warmth, I can almost hear her playful banter while we melted sugar together, as if she were passing down a treasured secret. Each colorful piece of stained glass candy that graced our table was not just a treat; it was a symbol of love and togetherness. In recreating this recipe, I’m not only reliving those moments but also inviting you to spark your own sweet memories. What kind of flavors will inspire your creations? Let’s find out!
Key Ingredients for Easy Stained Glass Candy Recipe: Colorful Homemade Treats
Creating delightful stained glass candy requires a few essential ingredients to bring those vibrant colors and flavors to life.
Granulated Sugar: The heart of this recipe, granulated sugar provides the ideal base for your candy. Its sweetness balances perfectly with the colorful bursts of flavor you’ll be adding.
Light Corn Syrup: This ingredient is key in ensuring your candy doesn’t crystallize. Adding light corn syrup helps achieve that smooth finish, making every bite melt in your mouth.
Water: A simple yet crucial player, water is necessary for dissolving the sugar. It creates that syrupy consistency that makes your candy a pleasure to make.
Flavored Extract: Whether you fancy peppermint, vanilla, or any other flavor, adding a flavored extract gives depth and personality to your candy.
Salt: Just a pinch of salt does wonders. It balances the sweetness and enhances the overall flavor profile of the candy.
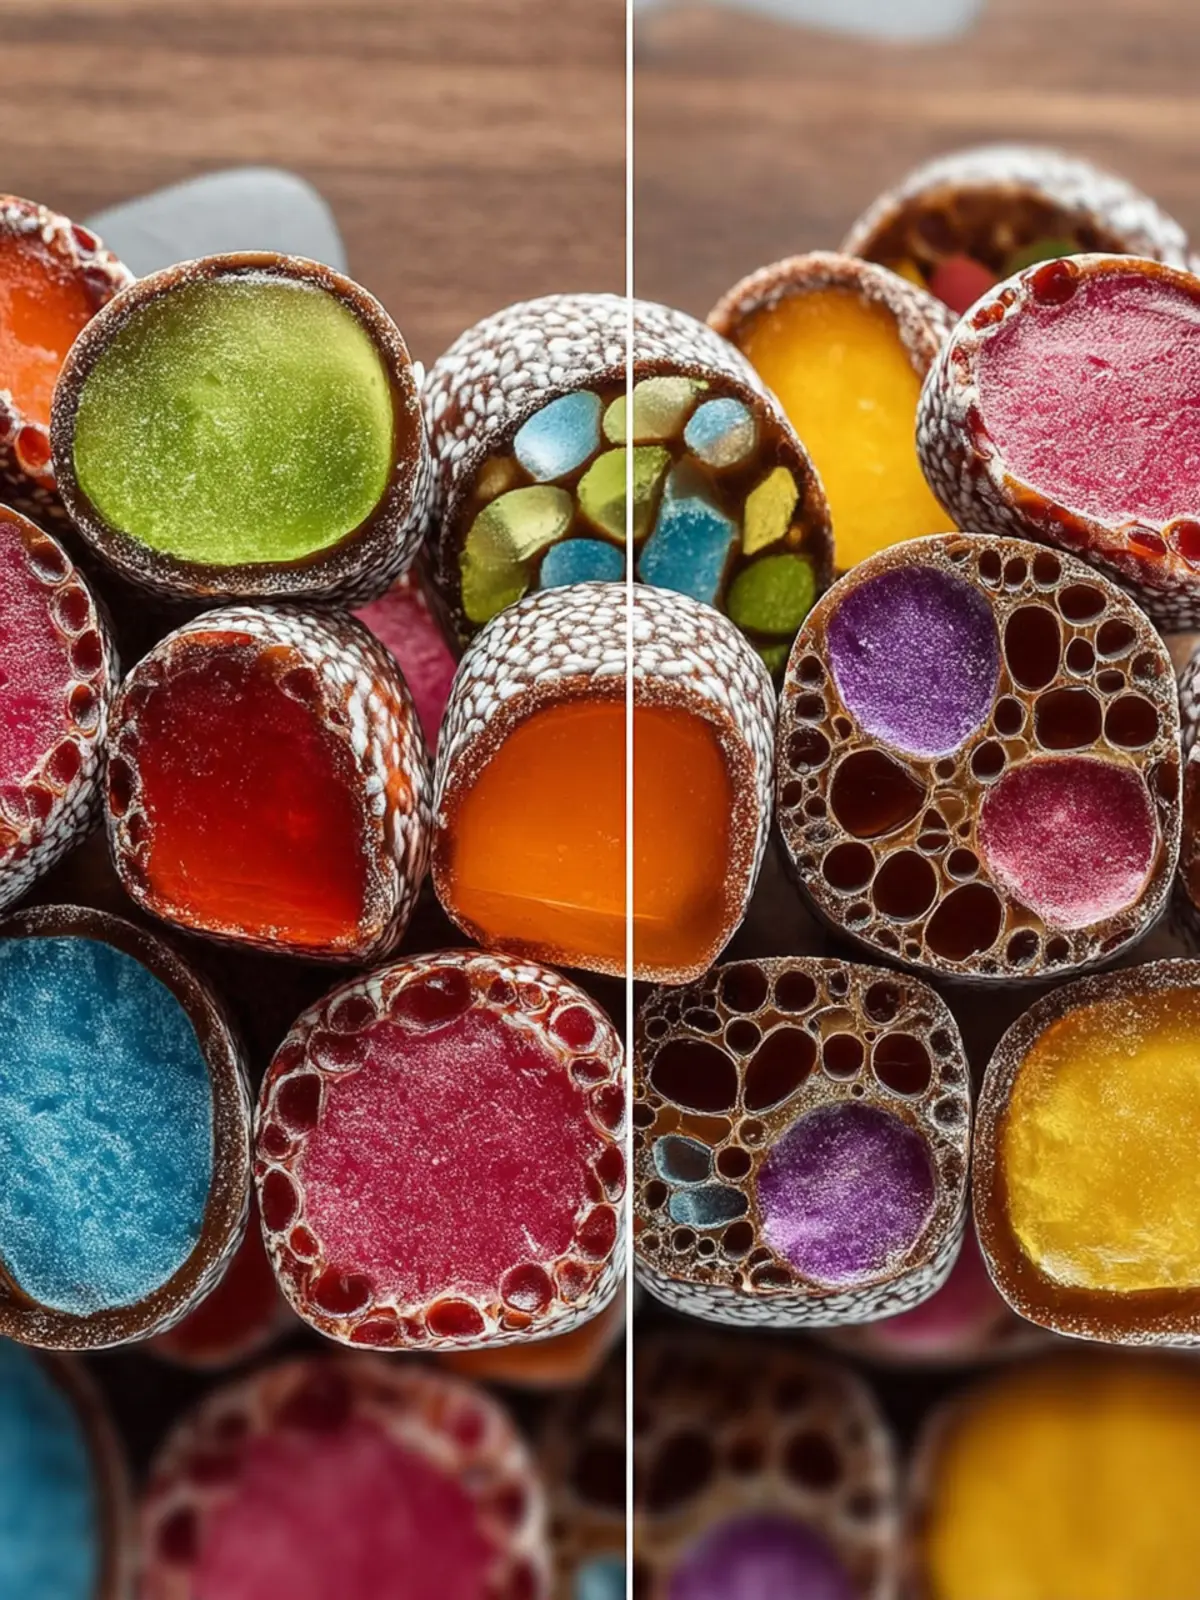
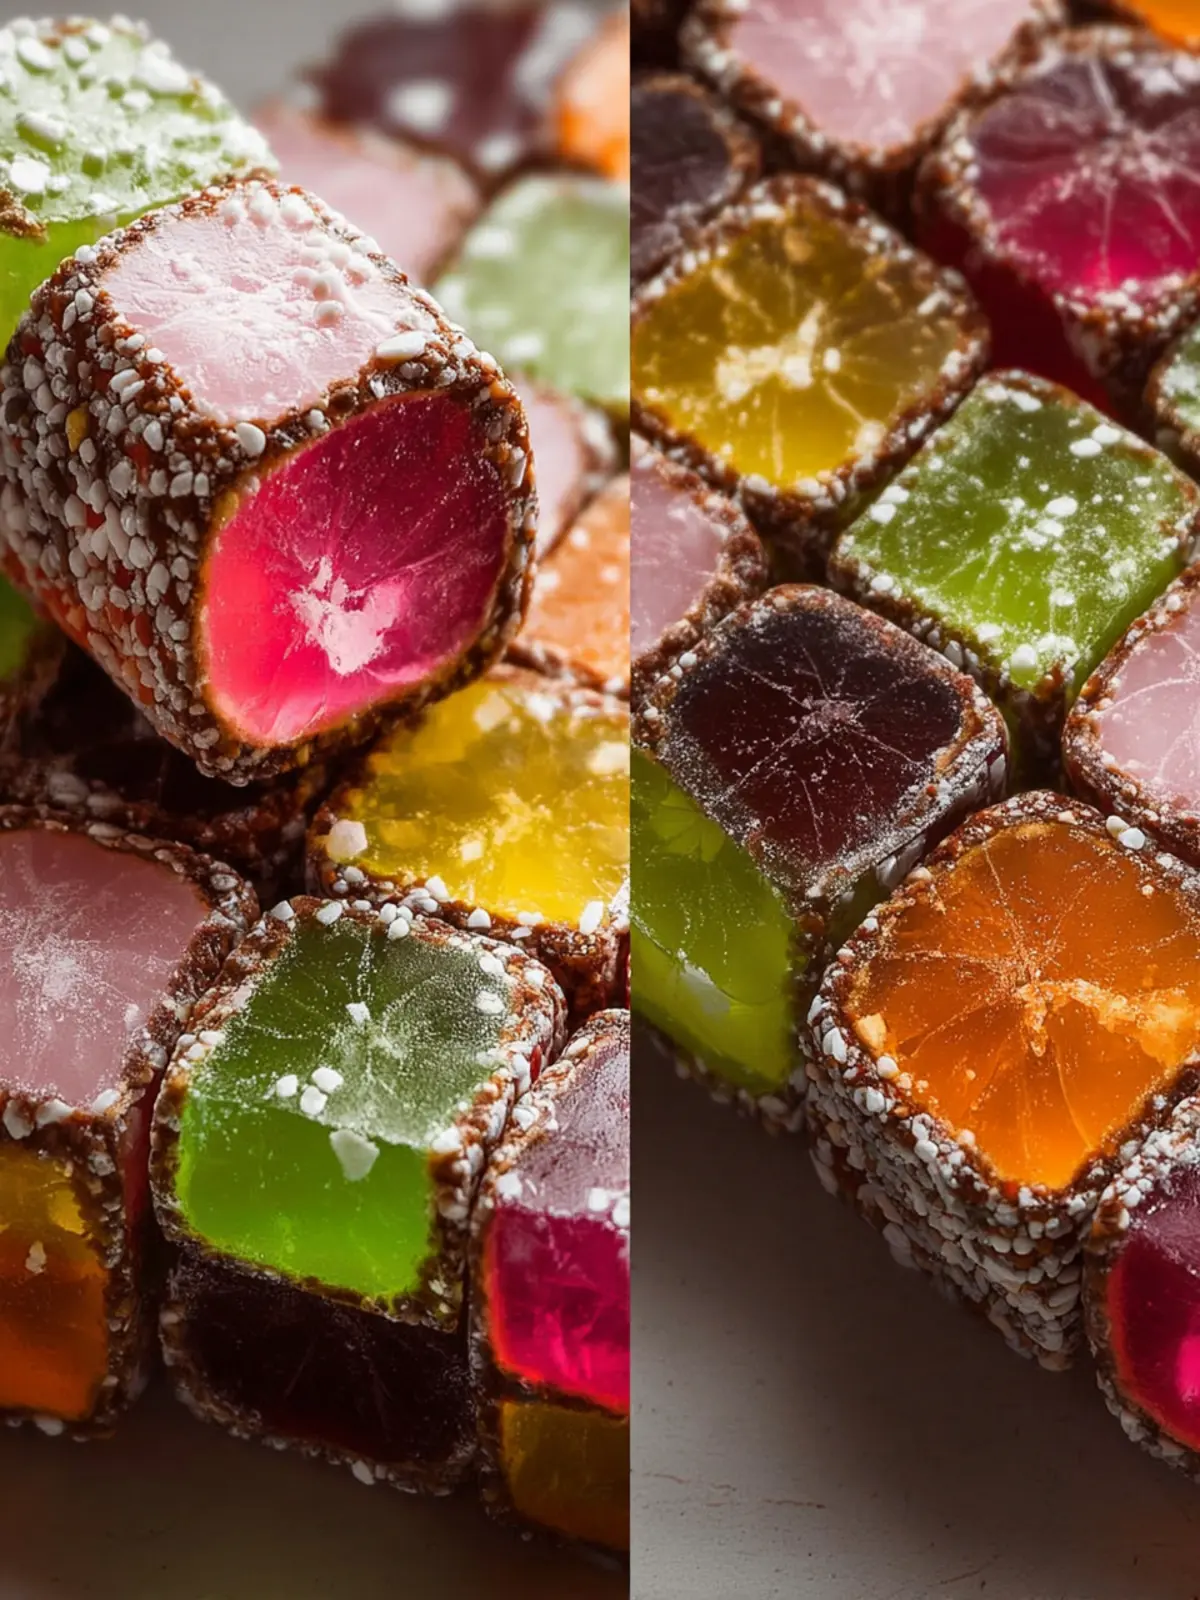
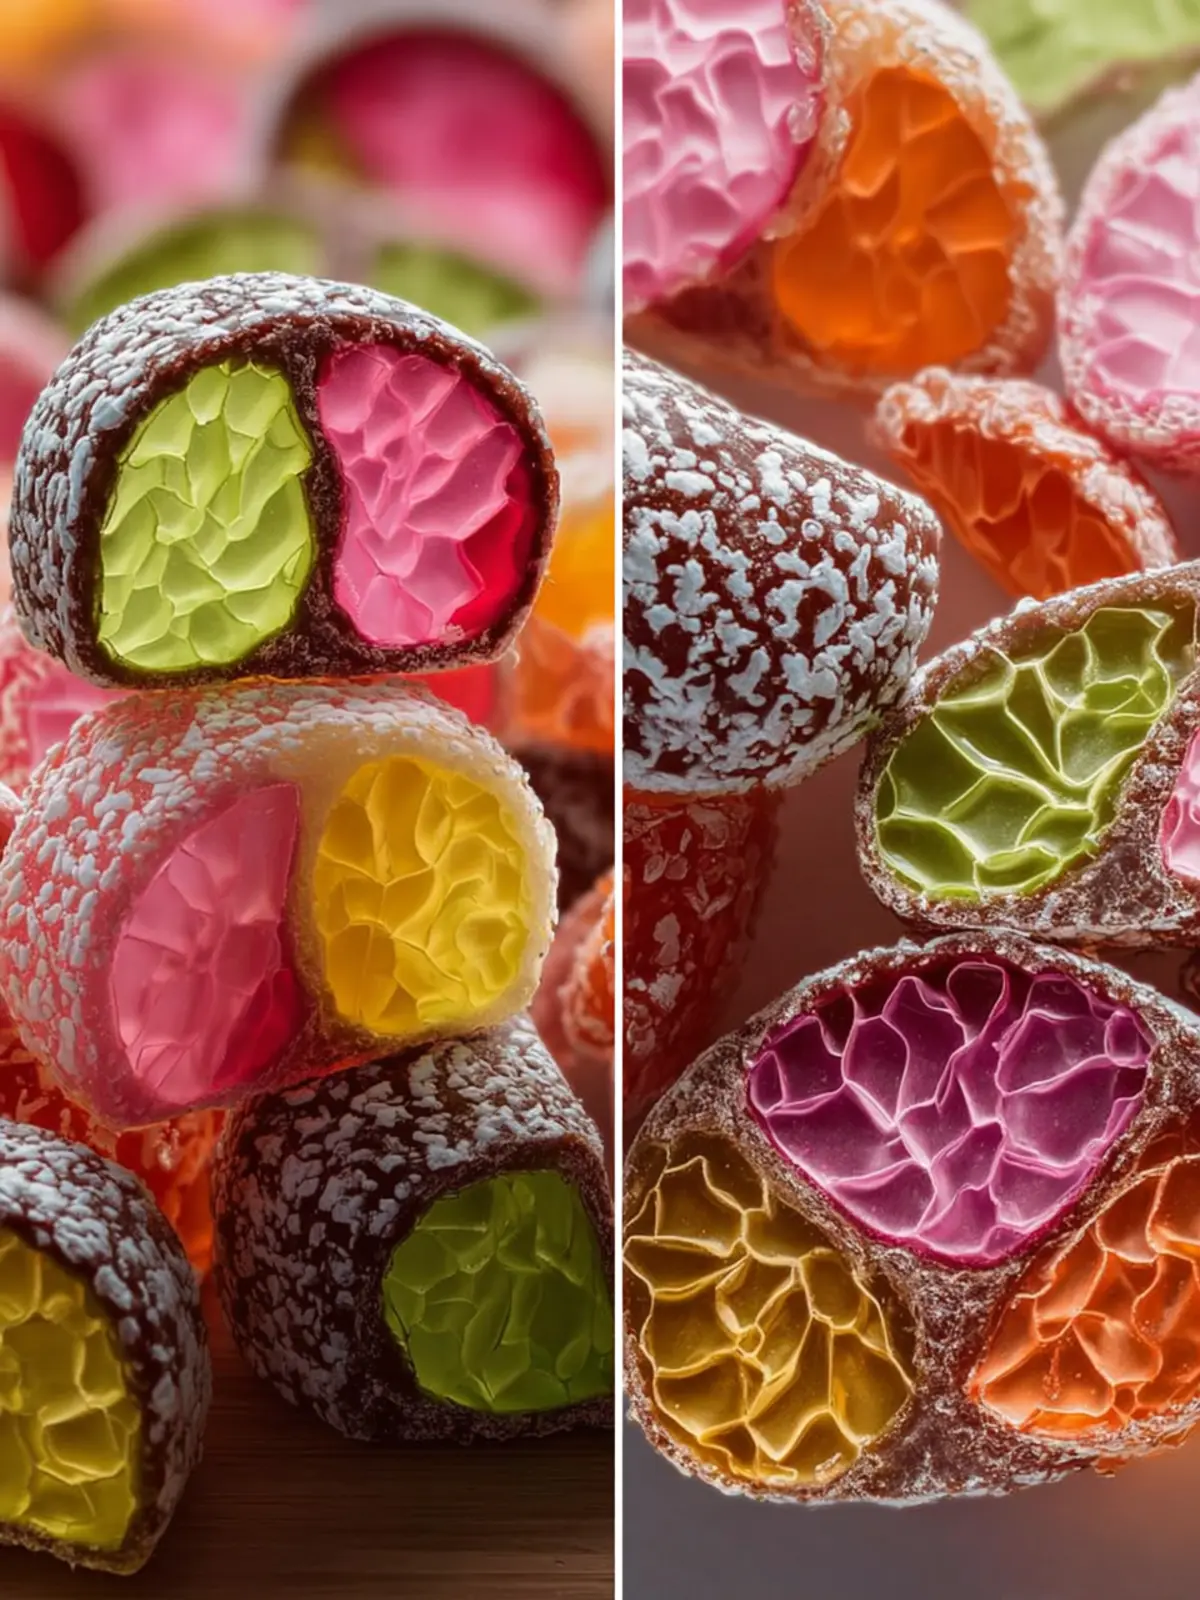
Food Coloring: For that striking stained glass effect, choose vibrant food colors. They bring your candy to life and make it visually stunning.
Butter or Cooking Spray: Finally, don’t forget to grease your baking sheet! A bit of butter or cooking spray will prevent the candy from sticking, ensuring a clean release.
With these simple ingredients, you’re one step closer to crafting your own beautiful stained glass candy!
Why You’ll Love This Easy Stained Glass Candy Recipe
Creating vibrant, easy stained glass candy has never been more delightful! This recipe marries the simplicity of candy-making with the joy of crafting something visually stunning. Picture a sunny afternoon, where the kitchen is filled with the sweet aroma of melting sugar and the excitement of a little DIY project.
Fun and Creative: This recipe is not just about satisfying your sweet tooth; it’s an opportunity to unleash your inner artist. With colorful hard candies that mimic stained glass, your creations can match any occasion—think birthday parties or holiday gatherings.
Family-Friendly Activity: Making stained glass candy is a fantastic way to engage with family or friends. Involving your loved ones in the candy-making process can create memories that will last a lifetime. Who doesn’t love gathering around to crush candies and pour colorful mixtures?
Perfect Gift Idea: Have you ever thought about gifting something unique? Homemade stained glass candy looks as good as it tastes, making it a charming surprise for friends or colleagues. Package them in clear cellophane for a beautiful presentation.
With just a few ingredients and a sprinkle of creativity, this easy stained glass candy recipe will surely become a favorite in your household!
Variations on Stained Glass Candy
Exploring the easy stained glass candy recipe can unlock a world of creativity and flavor in your kitchen. You’ll never make just one version again once you see how simple it is to switch things up!
Flavor Options
One of the joys of this recipe is its versatility.
- Classic fruity: Try flavors like cherry, lemon, or lime for a tangy burst of sweetness.
- Minty freshness: Consider peppermint or spearmint for a refreshing twist that’s perfect for the holidays.
- Exotic blends: If you want to get adventurous, how about a mango or passionfruit flavor? The unique tastes will certainly impress!
Color Combinations
The visual appeal of stained glass candy is meant to shine.
- Festive palettes: Use red and green for Christmas, or orange and black for Halloween treats.
- Pastels: Soften the look with pastel shades—think light pinks, blues, and yellows for Easter or baby showers.
- Rainbow assortment: Create a bag of assorted colors to add excitement to any event!
Additional Toppings
Take your candy to the next level with fun toppings!
- Nuts: Sprinkle chopped pecans or almonds for a delightful crunch.
- Drizzles: A drizzle of chocolate or caramel can elevate your candy’s appeal.
- Sprinkles: Jazz up your candies with colorful sprinkles that tie in with whatever theme you’re embracing.
With these variations, your easy stained glass candy recipe will always be a favorite treat that brings joy and creativity to your kitchen!
Cooking Tips and Notes for Perfect Stained Glass Candy
Creating your own stained glass candy at home is a delightful experience, but a few tips can make your journey even smoother and more rewarding. Let’s dive in to ensure your treats shine like beautiful works of art.
Importance of the Candy Thermometer
Using a candy thermometer is vital for achieving the perfect consistency in your easy stained glass candy recipe. The sugar mixture needs to reach a specific temperature, typically around 300°F, to become the clear, crunchy candy you desire. If you don’t have a candy thermometer, consider investing in one—it’ll ensure your candy reaches the right stage without any guesswork, eliminating the risk of a sticky or overly hard result.
Working Quickly with the Hot Syrup
Timing is everything when making stained glass candy. Once your syrup is ready, ensure that you work efficiently. Pour it into your prepared mold as soon as possible to avoid it hardening in the saucepan. If you’re adding colors or designs, have everything prepped beforehand. A little extra prep goes a long way in creating a beautifully swirled effect!
Storing and Packaging Tips
Your stained glass candy deserves the best care after it’s made! Store it in an airtight container in a cool, dry place to maintain its crunch and color. If you’re planning to gift it, consider wrapping individual pieces in cellophane or placing them in decorative boxes. It not only looks charming but also protects them from moisture and breakage.
With these tips, you’re all set to create a colorful masterpiece that captures the essence of homemade treats! Enjoy the process and treat yourself to a bite of creativity.
Serving Suggestions for Stained Glass Candy
Stained glass candy isn’t just a treat; it’s a canvas for creativity that can brighten any occasion. Its vibrant colors and sweet crunch make it a versatile addition to your culinary repertoire.
As Holiday Treats
During the holiday season, stained glass candy can be a festive delight. Imagine presenting a beautifully wrapped box of these colorful candies at a holiday gathering. Their jewel-like appearance perfectly complements any seasonal decor and adds a touch of whimsy to your dessert table. Consider using flavors like peppermint or cinnamon for a seasonal twist!
Gifts and Party Favors
Crafted using this easy stained glass candy recipe, these candies make fantastic gifts and party favors. You can cut them into charming shapes, wrap them in clear cellophane, and tie with a ribbon—everyone loves a homemade gift! They’re not just tasty, but they also showcase your thoughtfulness and effort.
Decorative Uses
If you’re feeling artistic, think beyond just eating! Use stained glass candy as a decorative element for cakes, cupcakes, or even as part of a holiday display. Their shimmering colors can elevate any dessert, adding both beauty and sweetness to your creations. So, get creative—after all, food should be as visually appealing as it is delicious!
Time Breakdown for Making Stained Glass Candy
Creating stained glass candy is not just about the sweetness; it’s about the joy of crafting something visually stunning. Understanding the time needed for each step can help you manage your kitchen adventure. Here’s a quick breakdown:
Preparation Time
Getting ready for your easy stained glass candy recipe takes around 15 minutes. This includes gathering your ingredients, measuring your sugars, and crushing your colorful candies to create those vibrant glass-like pieces.
Cooking Time
Once you’re set, the cooking process is fairly quick, requiring about 10-15 minutes. You’ll need to bring everything to the right temperature for the perfect candy texture.
Cooling Time
After cooking, patience is essential! Let your candy cool for at least 30 minutes until it hardens. If you want to speed up the process, consider placing it in the refrigerator for a quicker set.
By keeping these time estimates in mind, your stained glass candy will be ready to dazzle friends and family in no time!
Nutritional Facts for Stained Glass Candy
Creating your own easy stained glass candy recipe not only fills your kitchen with colorful treats but also offers insight into its nutritional value when you indulge. Let’s take a closer look!
Calories per serving
Each piece of stained glass candy contains approximately 70 calories. This treat might be eye-catching and sweet, but it’s important to keep portion sizes in mind to enjoy these delights without overindulging.
Sugar content
The temptation of the sugary crunch! On average, each serving has around 15 grams of sugar. While it’s undeniably a sweet treat, being mindful of sugar intake can help maintain a balanced diet. Enjoy these fun candies as an occasional treat rather than a daily indulgence.
FAQ Section about Easy Stained Glass Candy
Creating colorful homemade treats is an adventure that can bring out your inner artist, and the easy stained glass candy recipe is a delightful way to indulge. Here are some questions that may pop up while making these vibrant confections!
Can I use different extracts?
Absolutely! While the easy stained glass candy recipe typically calls for vanilla or almond extract, feel free to explore other flavors like peppermint, lemon, or even coconut for a twist. Just remember that stronger extracts can overpower the candy, so a little goes a long way.
How can I fix crystallization?
Crystallization can be frustrating, but it’s not the end of the world! If your sugar mixture starts to crystallize during cooking, you can gently wipe down the sides of the pan with a wet pastry brush to dissolve those pesky sugar crystals. If it’s too far gone, you might need to reheat and add a teaspoon of water to help break down the crystals.
What can I do if it doesn’t harden?
If your candy doesn’t harden, it’s likely due to incorrect temperature during cooking. Make sure to use a reliable candy thermometer; the mixture should reach the hard crack stage (around 300°F). If your candy remains tacky, you can spread it out on a parchment-lined baking sheet and pop it into the fridge to encourage hardening, but it’s best to try and start over for the perfect results.
Hopefully, these tips help you achieve stunning results with your easy stained glass candy recipe! Enjoy your candy-making journey!
Conclusion on Easy Stained Glass Candy
Creating your own easy stained glass candy is not just a delightful way to satisfy your sweet tooth, but it also presents an engaging project for friends and family. Whether you’re sharing these vibrant treats at parties or simply enjoying them as a colorful snack, the process can be as rewarding as the outcome. Remember to allow your imagination to flow while mixing colors and shapes; this isn’t just a recipe, but a chance to craft edible art. With your newfound skills, you may find yourself experimenting with flavors and designs, truly making it your own. So don’t hesitate—get in the kitchen and let the candy-making magic begin!
Print
Stained Glass Candy
- Total Time: 30 minutes
- Yield: 12 servings 1x
- Diet: Vegetarian
Description
Beautiful and delicious stained glass candy, perfect for special occasions or as a delightful treat.
Ingredients
Scale
- 3 cups granulated sugar
- 1 cup light corn syrup
- 1 cup water
- 1 teaspoon flavored extract (e.g., peppermint, vanilla, or cherry)
- 1/2 teaspoon salt
- 1 teaspoon food coloring (various colors for a stained glass effect)
- Butter or cooking spray, for greasing
Instructions
- Line a large baking sheet (approximately 10×15 inches) with parchment paper or a silicone mat. Grease it lightly with butter or cooking spray.
- In a large, heavy-bottomed saucepan, combine the sugar, corn syrup, and water. Stir gently over medium heat until the sugar dissolves.
- Once dissolved, stop stirring and bring the mixture to a boil. Attach a candy thermometer to the side of the pan, ensuring it doesn’t touch the bottom.
- Boil the syrup until it reaches the hard crack stage (300°F / 149°C). This is crucial for the candy to set properly. Do not stir during this stage.
- Once the syrup reaches 300°F (149°C), immediately remove the pan from the heat.
- Working quickly but carefully, stir in the salt and your chosen flavored extract.
- Pour the hot syrup into small, heatproof bowls (one for each color you plan to make).
- Stir a few drops of different food colorings into each bowl of syrup until the color is uniform. You can also leave one bowl uncolored for a clear ‘glass’ effect.
- Working with one color at a time, drizzle the hot, colored syrup onto the prepared baking sheet in random patterns.
- Immediately swirl the colors together slightly with the tip of a toothpick or a skewer to create a marbled, stained-glass look. Work quickly before the candy sets.
- Let the candy cool completely and harden at room temperature. This will take about 30-45 minutes.
- Once the candy is completely hard, lift it from the pan and place it on a cutting board.
- Use the tip of a knife or your hands to crack it into large, irregular pieces resembling broken glass.
Notes
- Ensure the thermometer does not touch the bottom of the pan, as this can give an inaccurate reading.
- Feel free to mix different colors together for a vibrant appearance.
- Store in an airtight container to maintain freshness.
- Prep Time: 15 minutes
- Cook Time: 15 minutes
- Category: Candy
- Method: Stovetop
- Cuisine: American
Nutrition
- Serving Size: 2 ounces
- Calories: 120
- Sugar: 30g
- Sodium: 40mg
- Fat: 0g
- Saturated Fat: 0g
- Unsaturated Fat: 0g
- Trans Fat: 0g
- Carbohydrates: 30g
- Fiber: 0g
- Protein: 0g
- Cholesterol: 0mg